


One of my favorite things about the holiday season is sending out our Christmas cards. Last year we went with a photo with just kiddos that we adored, but this year I knew I wanted a family photo, which is much easier said than done with two small ones. While on vacation we decided to take a chance and see what we could come up with. Thankfully it went off without a hitch and we managed to capture quite a few winners.
A few tips on capturing a great family photo...
1) Dress in what you are comfortable in. You can wear complementing outfits without being too matchy matchy.
2) Keep it simple...especially when using a self timer like we did for the first image. If you try too hard it will show, and not necessarily in a good way.
3) Be yourself. Again this goes back to dressing in what you would normally wear and stay away from too many trends unless that is who you really are. People want to see the real you.
4) Have fun!!! So many people put too much pressure on having to get that perfect shot, but in the long run you will see the stress of it all on your faces. The in between moments are always our favorites anyways.
5) Using a self timer can be hard even for a photographer like my Mr. so asking a friend to help can be a life saver. It also gave us the chance to do something that comes completely natural to us...walking as a family.
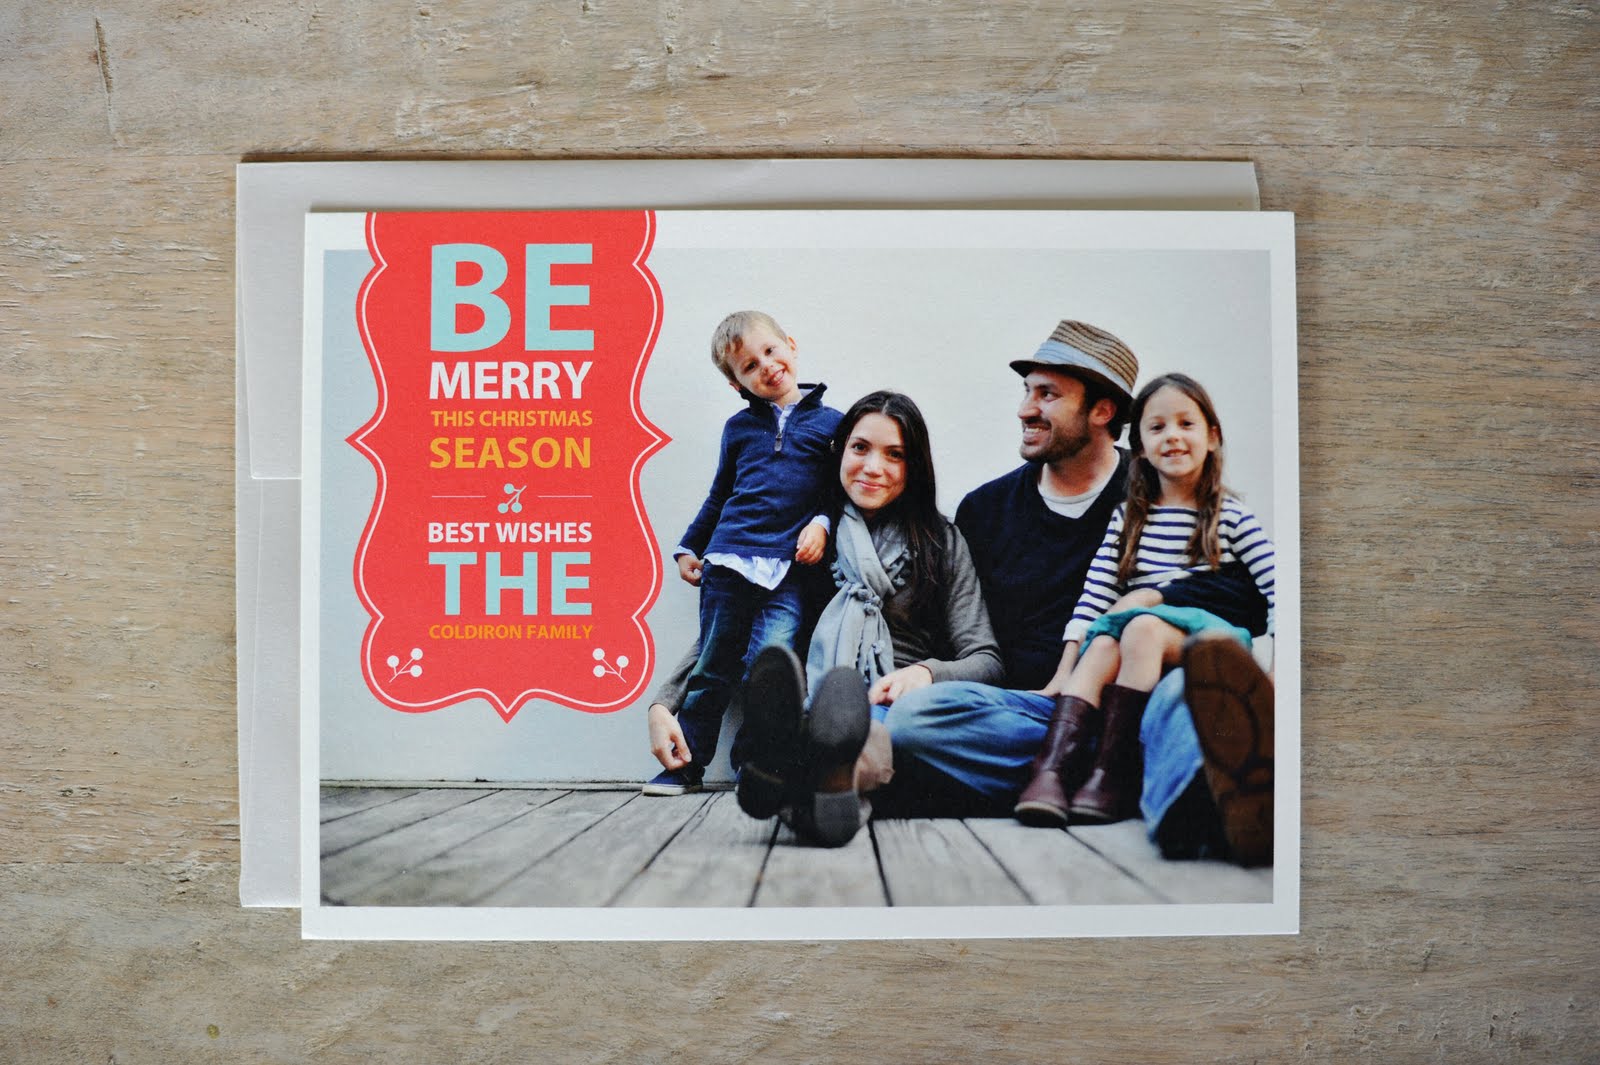
Then comes the choosing of the card. We being the creative types like to be a bit different and try to choose something that not only represents our family, but our photography as well. Once we saw Minted we knew they would be the best choice for us. The quality is superb with thick paper and the designs are fresh and so very unique. We liked them so much we choose two different designs this and this one. Really it was too hard to choose just one...so we didn't!
Now to get addressing so I can have them ready to send out the week after Thanksgiving. Yes, I like to be on top of things.


