

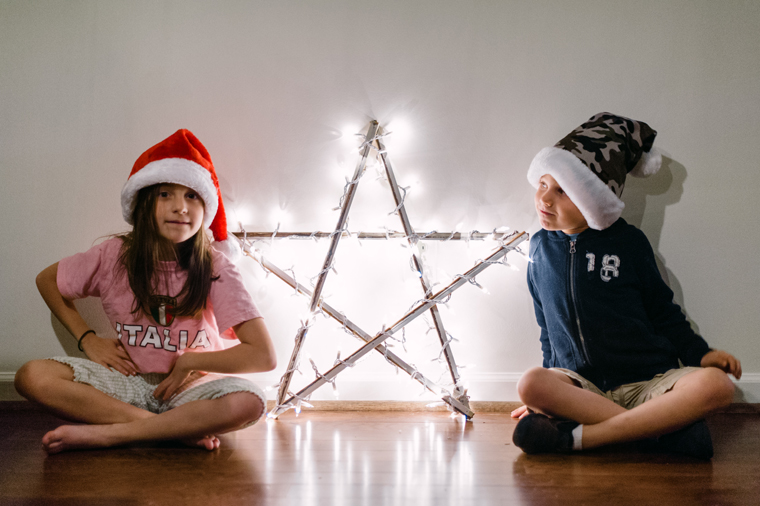

The other night I put together this little wooden star for our porch. It was a pre-made star that I got from a local shop and strung lights around it. Really easy and I am sure the actual making of the star would be easy as pie too. It was just a great price so I grabbed it. Rather than taking it down after Christmas I may just leave it up inside. It really is fun to have around.
An Arrangment How-To {part 2}
Today is part 2 of my new little series! In case you missed part one this is my most talented friend Brooke of BKWed. She was sweet enough to share with us simple yet gorgeous how-to's for arranging flowers. This one may be even simpler than yesterdays!
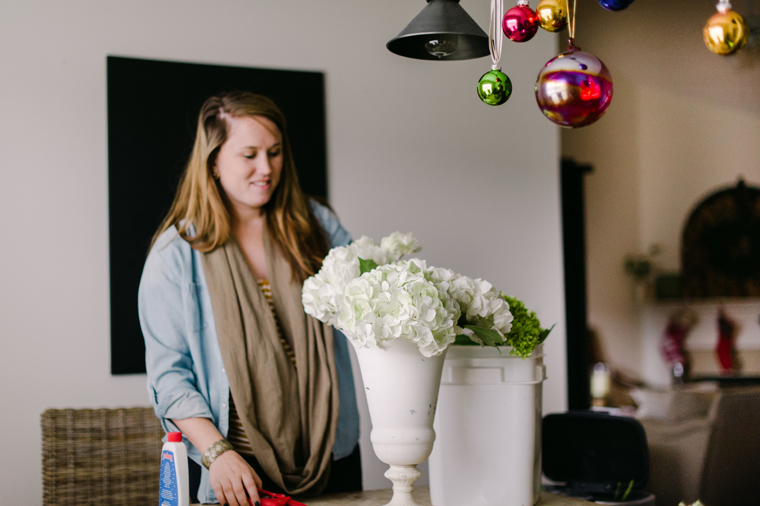
I thought that you all would enjoy not only a fun and colorful arrangement, but also a neutral one for all us neutral nellie's. We used a urn that I had outside, of course this arrangment could be done in any tall vase that had a wider mouth.

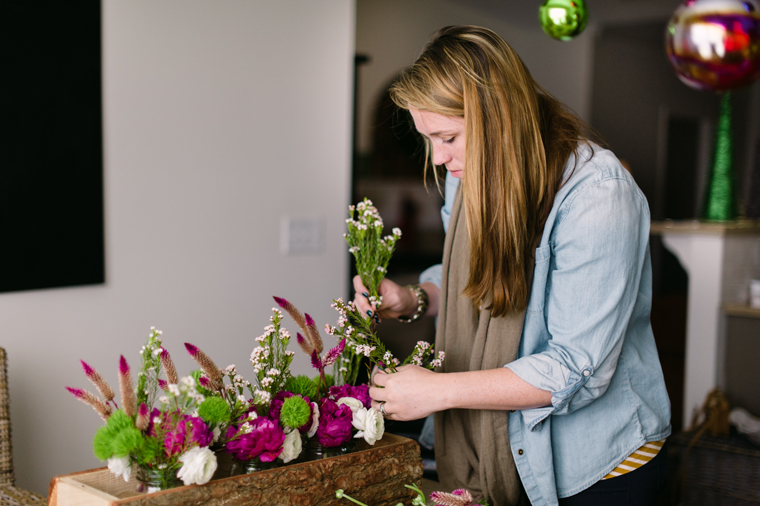
As for our main flowers we used hydrangeas. They are an all time favorite of mine. She stripped the leaves off the areas that would be in the water. She then messed with them till she found the look she was seeking. Basically Brooke laid them out so the arrangement would look good from all sides.

She then started adding "fillers" to add some height and make the arrangment have more of an impact.

In the end she also added the eucalyptus and dianthus green balls left over from the first arrangement to achieve a more fun, full, and elegant arrangment.

What You Will Need:
-Above are the flowers we choose, but as I said yesterday you could easily create the same look with other variates depending on what you can find and prefer.
-We happended to use an old urn that I had on hand, but any tall vass with a wide mouth would work.
-Sharp shears for cutting and removing leaves
-A trash can near by with ample space to work. In our case we used the dining table.
-The ability to create as you go. As in Brooke's case her initial thought of flower choices evolved a bit as she went along. In the end she ended up adding a few leftovers to acheive the look she wanted. We even contemplated going into my garden and cut rosemary and tree branches. In the end we decided against it.


Does she just not look stunning in my neutral living room? Brooke really out did herself.

Thank you Brooke for sharing your talent with not only me, but also Two Ellie readers. Hope we get to do this again in the near future! Flowers are needed for every occasion right?
To see more of Brooke's work go to BKWed for a gander!
A Colorful Arrangment How-To {part 1}
Today is the start of a series that I am so so excited about! Over the course of the next few weeks I am going to highlight some of my amazingly talented friends and their various crafts all to get us ready for the holidays. Of course on the top of my list are flowers. They are always a must in my book. For this very feature I enlisted my brilliant friend Brooke of BKWed. She is a wedding planner and happens to have a great talent with flowers also. We decided to go in two different direction depending on what you all prefer. Today's feature leans towards a rustic and more fun arrangement while tomorrow features something more serene and just plain ole pretty. They both began in the same place though, the flower market. I assume every city has one, but if not I am sure a simple grocery store selection would have a decent assortment too.


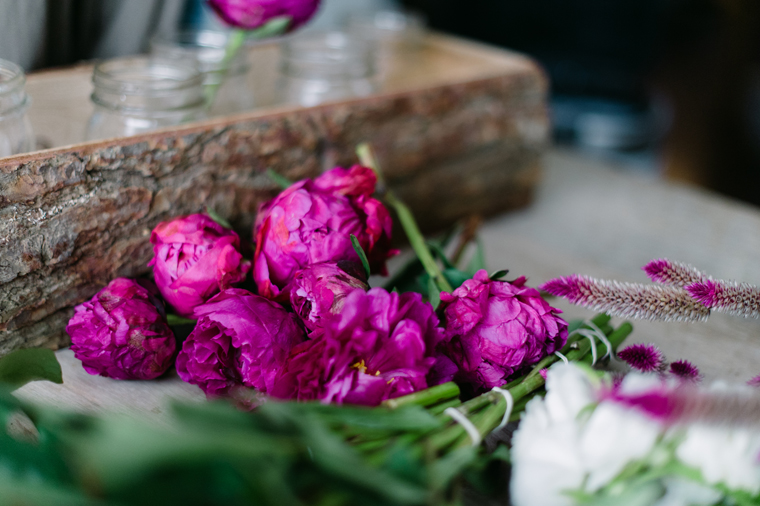
Brooke found this tree bark planter at the flower shop, but this one on etsy is quite similar. We went with a bold peony as the main flower for the strong color I wanted for the space. Brooke mentioned a carnation would have the same effect at a fraction of the cost and are more readily available at a local grocer. The picking of the flowers is more about finding what works for you and your desired effect for your space.


In order to keep it simple Brooke used mason jars I had on hand for the arrangements. She began with our main flower the peony and then added our second choice the ranunculas. As she cut down each flower to height she was also careful to remove the leaves that would sit in the water.
She then began adding the "fillers". They are flowers that are less expensive, but help give interest to the arrangement. If you recall I told her I wanted rustic yet fun so she choose the flowers that would give that effect.

This is where you could potentially stop. The arrangement looks pretty enough.

Yet we choose to add a final layer, the eucalyptus would make this piece a show stopper. It's the whimsy that this particular room needed. I knew I wanted this arrangement for the dining room which is decorated with a more fun atmosphere for Christmas. I simply wanted to have this arrangement look as if it belonged in this space and I believe Brooke pulled it off beautifully.

What You Will Need:
-Above are the flowers we choose, but as I said you could easily create the same look with other variates depending on what you can find.
-A planter of your choice and mason jars. You could easily ditch the planter though and just use the mason jars.
-A good pair of sharp shears for cutting stems and removing leaves
-A trash can near by with ample space to work. In our case we used the dining table.
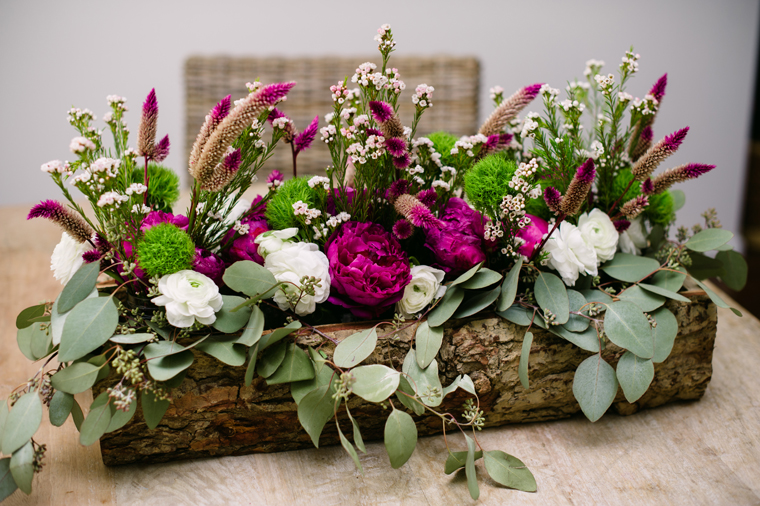
Ta-Da!!!! I am seriously in love. Now if it would only live forever. Ha.
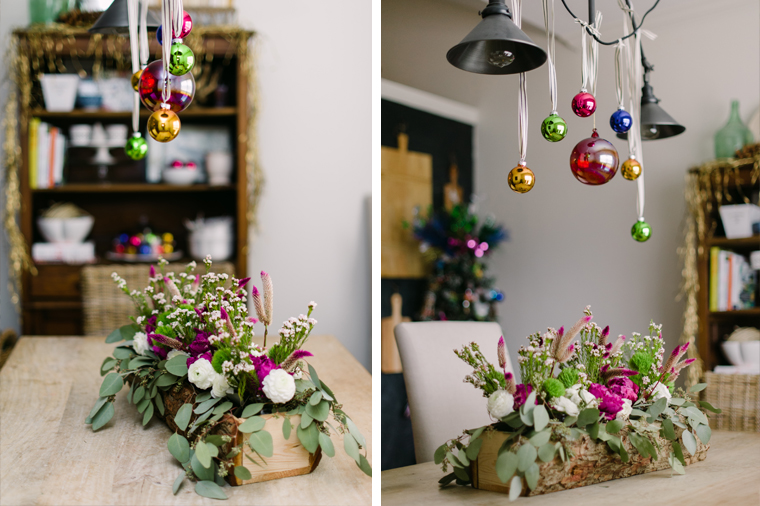
The colored ornaments were obviously the jumping off point. Could it seriously get any better?

Tomorrow I will have the arrangement Brooke did for my living room. It is the polar opposite of today, but ever so gorgeous and simple.
To see more of Brooke's work go to BKWed for a gander!
